
Introduction
I knew early on in my design process that one of the scenes I wanted to create would involve a large ocean. While in feature films there are options to shoot on the water – Pinewood Studios for example has an 806,000 gallon tank which has been used for many large productions such as Star Wars: The Last Jedi (Pinewood Studios, 2018) – this is not always financially and logistically viable and therefore being able to create a photorealistic ocean-scape with floating objects will be a very impressive and useful skill to add to my portfolio.
FLIP Fluid Simulations
There are three key tutorial series that I will use to teach myself how to create an ocean and manipulate fluids in Houdini 16, all found on the Pluralsight network. Firstly, in order to learn how fluids are created and operate in Houdini I completed the Introduction To Fluid Simulations in Houdini. Within this series of videos I was taught about FLIP fluids, the various parameters that control how fluids work, and combining solid objects with the fluids to make them float.
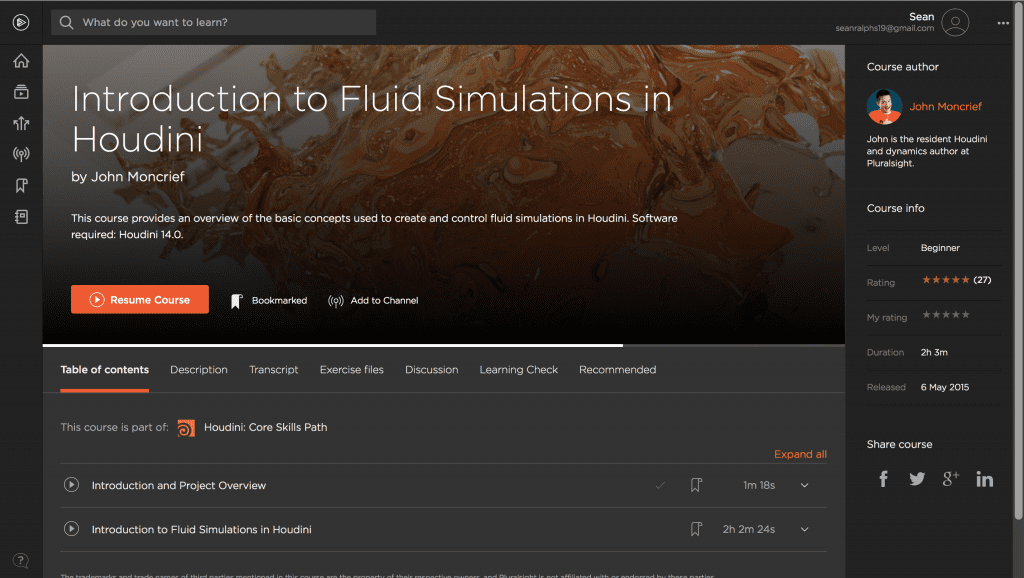
Introduction to Fluid Simulations in Houdini by John Moncrief on the Pluralsight Network.
What Is A FLIP Fluid?
In order to generate liquids Houdini uses a system called “FLIP Fluids”. FLIP just stands for FLuid Implicit Particles and it is a system that uses a series algorithms to make particles behave together as though they are a liquid by calculating the position of the particles within a 3D grid. A FLIP fluid can be created in Houdini from the shelf and will automatically set up the nodes provided there is a volume designated to become the fluid.
When you create a FLIP fluid from the shelf 3 nodes are created: 2 “geometry” nodes labeled the [volume name]_fluid which contains the particles that control the fluid, the [volume name]_fluidinterior which ties all the particles together to make them look like an actual fluid in the final render, and then the AutoDopNetwork. This network is the heart of the FLIP fluid and controls how the particles behave together, the level of detail of the fluid and the solver that runs all the algorithms to create a coherent fluid. However, without a tank or collision object to work with if I was to simulate the FLIP fluid in its current state it would simply fall until it reaches the edge of the bounding box and be deleted.
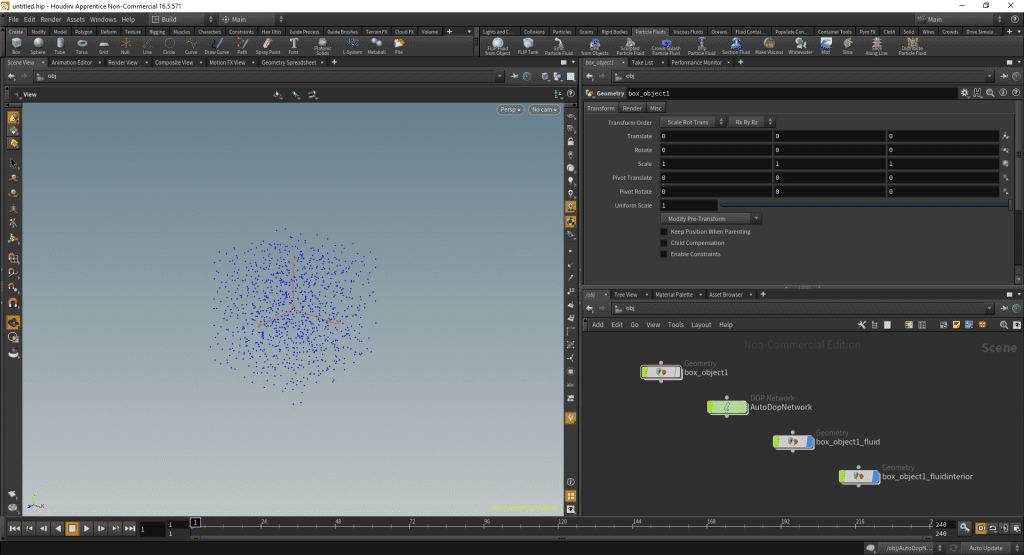
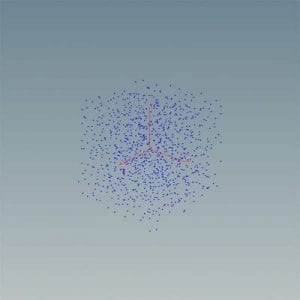
A box object turned into a FLIP Fluid using the “FLIP Fluid From Object” shelf tool.
Manipulating the FLIP Fluid
The tutorial then goes on to explain how to add forces to the fluid such as wind to push the fluid in a direction or even suspend it in mid air, as well as an axis force to create an orbit for the particles to float in – in terms of my project this may be useful if I want to create a maelstrom effect in my ocean using wind to spin the fluid into a whirlpool. The course also covers fluid emitters however these will not be especially relevant to my project.
FLIP Tanks and Buoyant objects
The middle third of the course is the section I believe will be most relevant to my final output as it covers the “FLIP Tank” shelf tool and how to create a boat that floats in the tank. So rather that creating a fluid from an initial volume such as a cube or sphere, the FLIP tank create a bounding box full of FLIP fluid particles that cannot escape the bounds of the tank and can be resized in 3D space at will. The limitations of this tank however are that the bounding box only affects the FLIP fluid, not any RBDs, the solution therefore is to create a ground plane and line it up with the bottom of the tank.
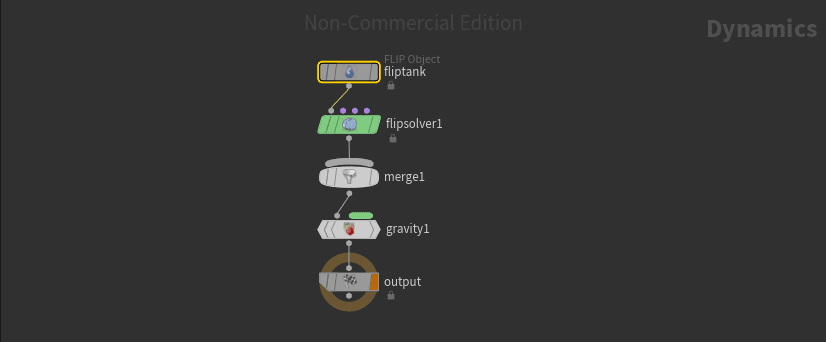
The interior of the AutoDopNetwork for a FLIP Tank.
In order to create a floating object in your tank the tutorial teaches you to use the “Embed In Fluid” shelf tool on your object (in this case boat). However, initially this only embeds the points of the objects geometry meaning that when the fluid particles move the object is deformed. The solution to this is to use an “add” node to create a single point in the simulation and then parent the boat geometry to that point using a “copy” node, it is important to also use an “AttributeCreate” node to add a normal to the point, essentially teaching it which direction is up/forward/sideways, otherwise the boat geometry cannot rotate and will look unnatural in the water. At this point in the course the boat was being pulled under the water over the course of the simulation meaning that by the end of the timeline it was almost entirely submerged – this can be fixed using the “transform” node. By using the transform node in the boat geometry to move the object up in the y direction which will stop the geometry from sinking.
Optimising Simulations/renders
Lastly the course covers editing the resolution of the FLIP fluid in order to optimise simulation speed against render quality. Within the AutoDopNetwork there is a node called the “FlipFluidObject” node in which can be found the “Particle Seperation” parameter – this is effectively the resolution of the fluid. By lowering this parameter the distance between each particle decreases, adding more particles to fill the new gaps. The trade off here is that as the resolution and therefore final quality increases so does the simulation and render times. It is therefore recommended that during the simulation phase the particle separation is increased to allow for faster sim times, and then lowered before any renders to maximise quality.
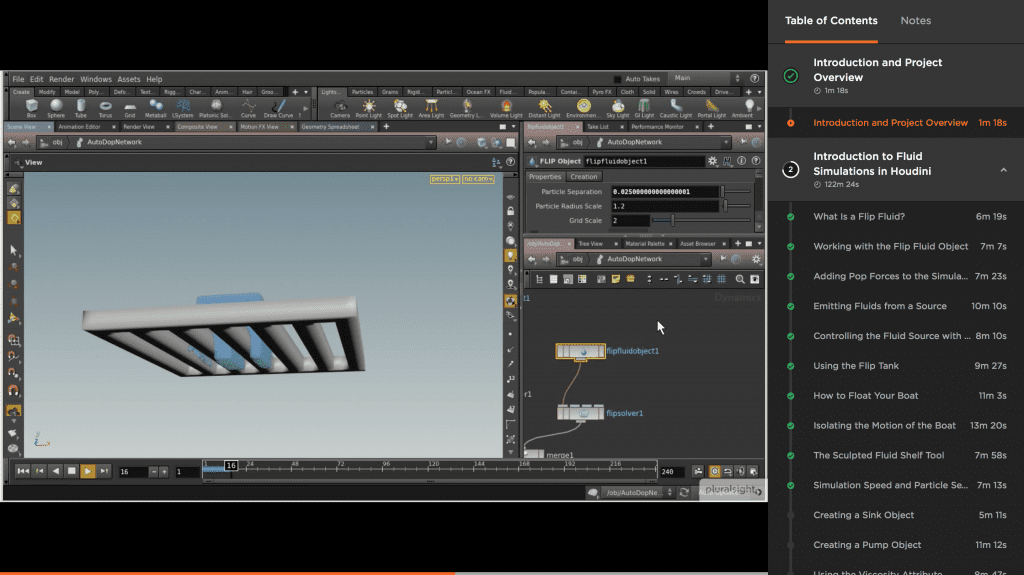
The “FlipFluidObject” node showing the “Particle Separation” parameter.
Conclusion
After this the lesson continues to discuss viscosity in liquids and how this can be manipulated in Houdini and how to create a realistic sink and pump however this is not especially relevant to what I will be creating for my portfolio and so I won’t go over it’s contents in more detail here. From this first lesson in using liquids in Houdini I now feel I have a strong base understanding of the properties of fluids in the program and how they can be manipulated to create a desired look. Now that I have this initial understanding, the next step in terms of fluids in Houdini is to look at the Introduction to Dynamic Oceans in Houdini lesson which covers the ocean focused shelf tools.
References
- Pinewood Studios (2018) Pinewood Studios: Exterior Tank. Buckinghamshire: Pinewood Group Limited. Available from https://www.pinewoodgroup.com/studios/pinewood-studios/stages-facilities/water/exterior-tank [accessed 16 October 2018].
- Pluralsight (2015) Introduction To Fluid Simulations in Houdini. Available from https://app.pluralsight.com/library/courses/introduction-fluid-simulations-houdini-2078 [accessed 16 October 2018].
- Pluralsight (2015) Introduction to Dynamic Oceans in Houdini. Available from https://app.pluralsight.com/library/courses/intro-dynamic-oceans-houdini-2116/ [accessed 21 October 2018].