
Introduction
Now we’ve prepared our source we can set our fuel on fire and create a fire breathing effect. In this post we will cover the snakefire_sim network in more detail as well as create lasting fuel on some of the objects in our scene.
Setting up THe sim network
So, rather than creating another DOP Network from scratch for our pyro simulation, Rickles just copy/pastes the one he used for the campfire scene into this new project, as I have already covered the steps to set up this network I will just link to the post here. Once you have your network (renamed in my case to snakefire_sim) there are a few parameters to update, firstly the Start Frame can be updated to 60 as our fuel doesn’t start till then either also it is worth hitting the Reset Simulation button a few times if after we update this value so the simulation is set up properly. Inside the network itself you can get rid of collision RBD objects and the merge above the output as these are specific to the campfire as well as the source volumes and merge connected to the 5th input on the solver. Now all we have left is the Smoke Object and the Gas Resize Fluid Dynamic connected to the Pyro Solver and the Output. We should also replace this Pyro Solver with a new fresh one so all our stylistic tweaks from the campfire are removed.
There are a couple references we need to update now we are in this new sim network. In the Smoke Object firstly we need to give the Division Size a multiplier of 5 while we are in the testing phase. Also, in the Size and Centroid fields we are currently referencing the Bounding node from the campfire, update the path of all these so it instead points at the BBOX Null in the snakefire_source network.
Importing the Source Objects
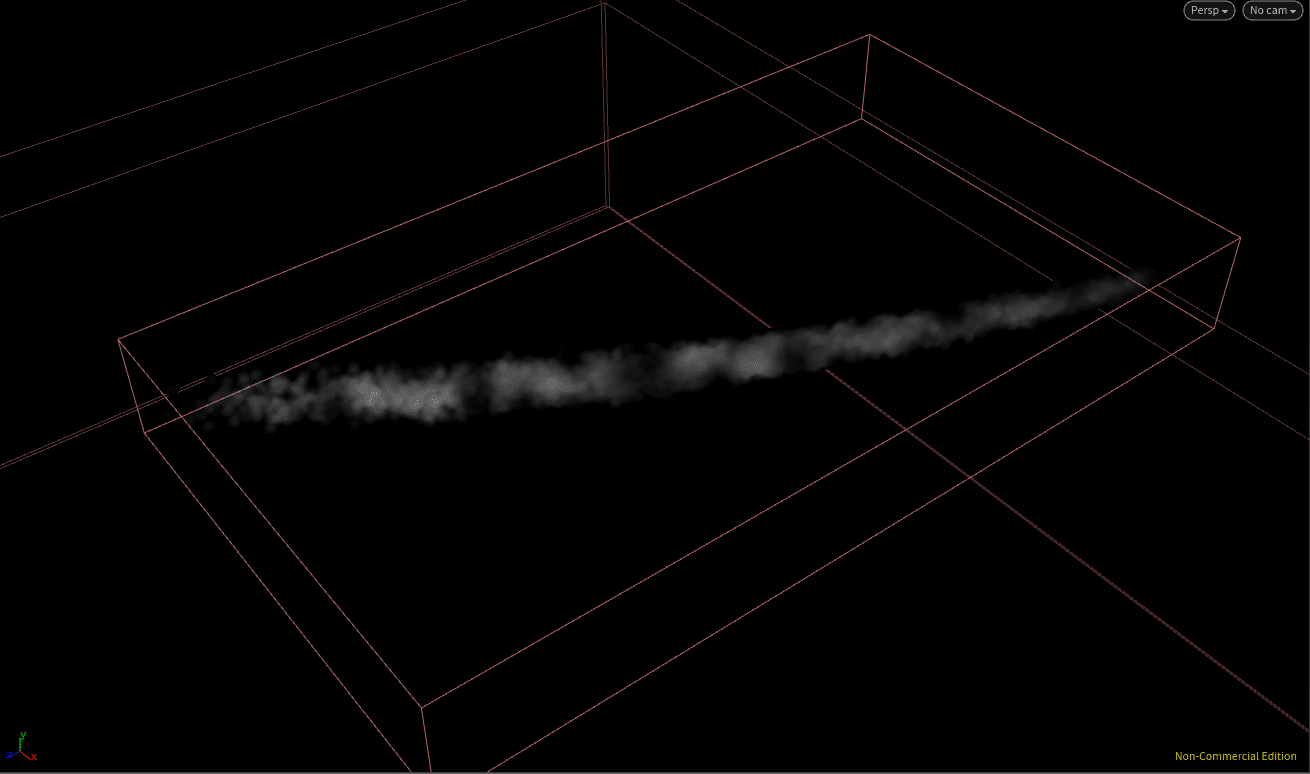
At the moment we have no fuel to ignite so connect a Source Volume to the 5th input of the solver and make sure its Initialisation is set to Source Fuel then point it to the Null at the end of the fuel chain. Now the tracking object we set up will pay off, at the moment the bounding box is resizing far too quickly so in the Gas Resize Fluid Dynamic>Tracking Object tab enable Track By Object then point the SOP Path at the TRACKER Null we created in Part 1. Now if we play we’ll see our fire breath effect and it’s already looking pretty cool.
We also need to import our collisions so place a Merge node below the Source Volume and then create 2 more Source Volumes both set to Initialise Collisions the first pointing at the snake head Null and the second at the reference figure. Also make sure there’s gravity being applied to your simulation by placing a node below the solver.
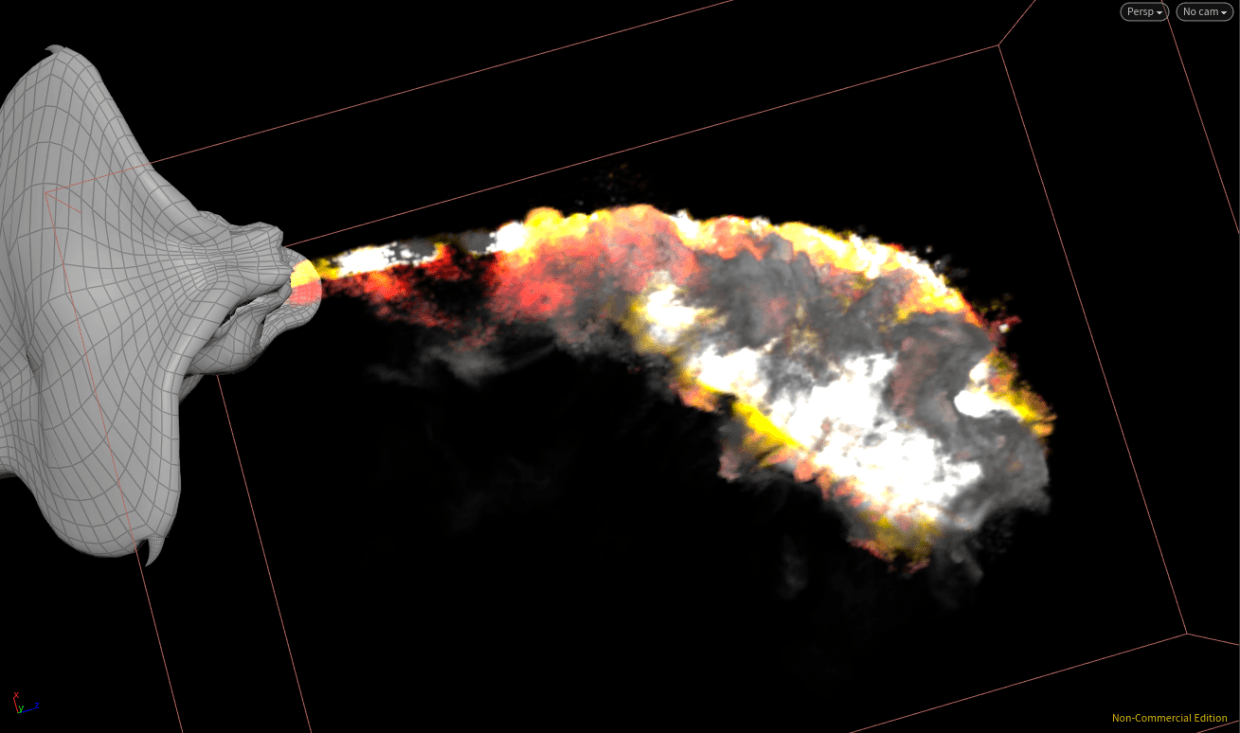
The initial fire breath we will be working with.
Fuel Advection and shaping
Fuel Advection
It would be nice if some of the fuel would be effected by our velocity vector we created for the source – this is called “fuel advection”. In order to do this we’ll jump into the Pyro Solver>Combustion tab and scroll down, at the bottom the 5th sub-tab gives us the option to enable Advect Fuel, toggle this on. At the moment this won’t have much of an effect on in its current state but if we increase the Fuel Speed to something like 20 you will see the fuel is almost being thrown forward.
Shaping
The parameters we have by default in the Pyro Solver are already looking pretty good so we can move straight on to the Shape tab. We don’t want our fire to be sticking around in our simulation for as long as it is at the moment so enable Dissipation with a value of 0.7. We also want to make sure none of our fuel is being wasted so in Combustion tab increase the Burn Rate to 1 and the Fuel Inefficiency to 0. Lastly increase the Temperature Output to 1 but decrease the Gas released to 8 and increase the Ignition Temperature to 1 otherwise the fire will look too hot and just be white.
In the Source Volume bringing in our fuel we are going to make a few changes to improve the look of our fire. Firstly we are going to have it so our intensity ramps up rather than stays at a constant value the whole time using another “fit” function, in the Scale Source Volume type this expression:
fit($SF, 1, 30, 0.1, 1)
“SF” refers to our “Sim Frame”, as our simulation is starting on frame 60 we will use this to reference our frame rather than $FF. Now between sim frame 1 and 30 the Scale will increase from 10% to 100%.
Our fire is also looking a bit skinny, it would be better if it fired out in a wider cone, to do this we will edit the settings of the Source Volume bringing in our fuel
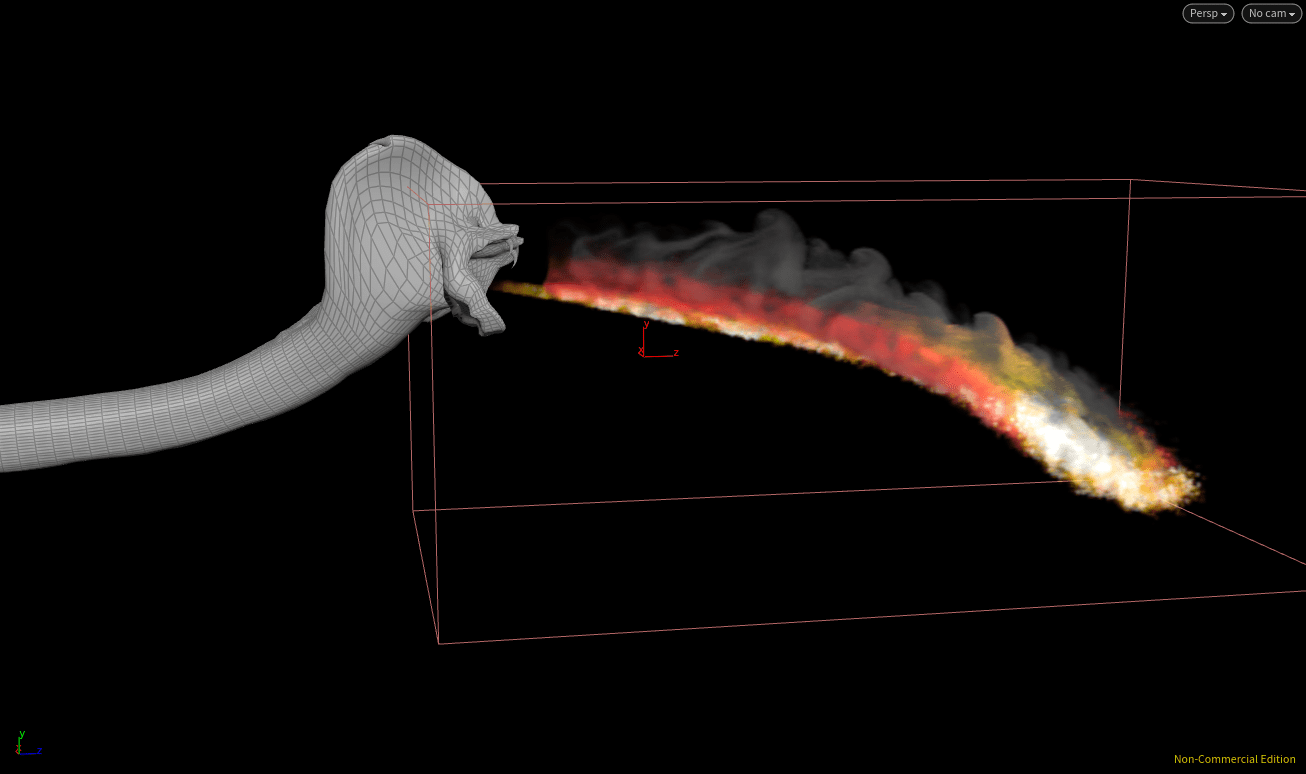
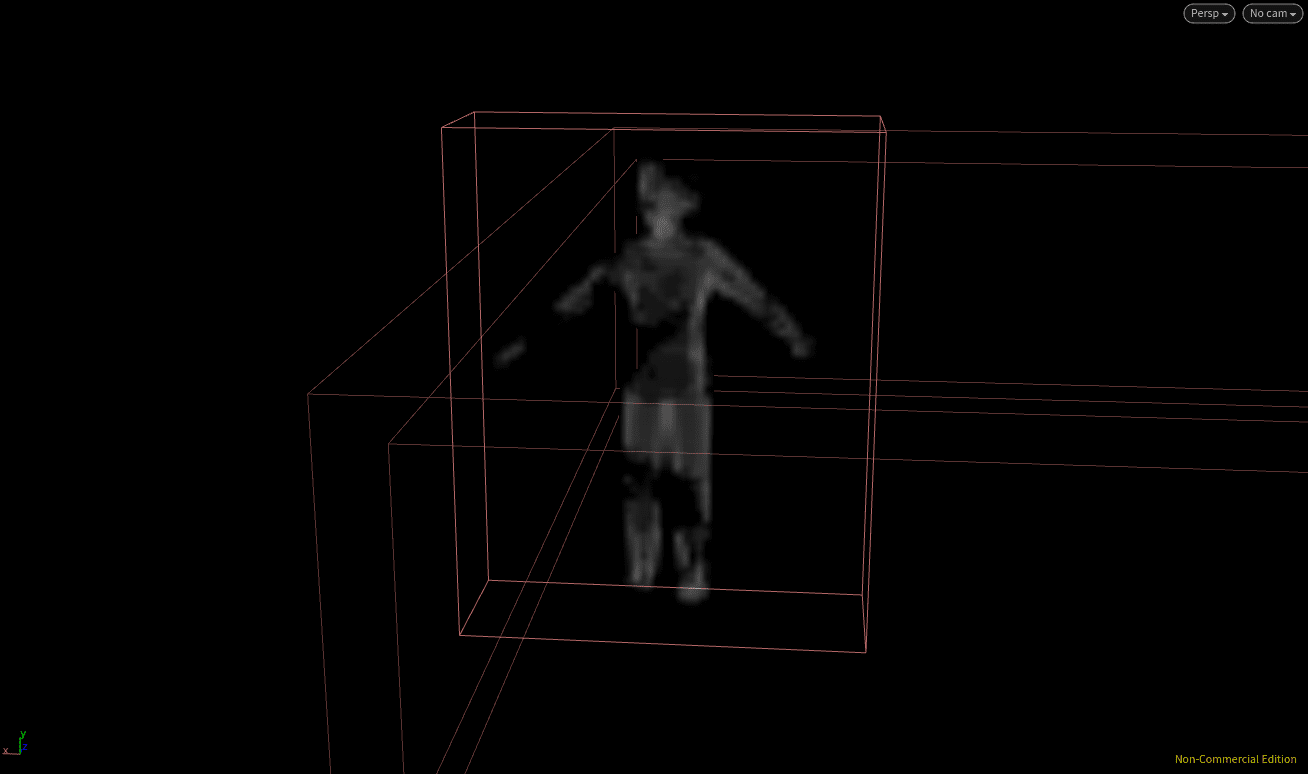
Now we have added fuel advection our fuel appears to be being thrown forward out of our snake’s mouth.
Problems with the Source and Further Shaping
If you play your timeline in its current state by the last 30 frames of its life it’s starting to look a bit clumpy, the fire looks like it’s made out of a bunch of big spheres and looks very unnatural – we will address this issue in the snakefire_source network.
Fixing the source network
If we jump into the snakefire_source network we can see we’re getting some errors, to fix these we will drop another Time Shift node before the Null for our fuel set to Clamp to Both and set the Start/End Frame to reference the Start/End Frame of the File Cache so that the End Frame of the Time Shift is 120, that way our fuel will hold on the last frame of the simulation (duplicate this Time Shift for the Tracker branch as well). We don’t want the fuel to stick around however, so drop a Delete node below the Time Shift set to Delete by the Expression $FF>ch(“../File_Cache (or whatever you renamed it)/f2″) so now at the final frame of the cache our fuel will disappear.
If we play the simulation from above as well we can see our fuel doesn’t seem to be properly mapping to the direction of the snake so in the Fluid Source > Velocity Volumes tab enable Add Velocity and give it a value of 1, 0, 0 so there’s some push in the x direction.
Additional Shaping
Back in the Pyro Solver > Shape tab we will enable Disturbance to break up our blobby pattern that’s forming. The pattern is being caused by temperature build up so change the Field To Disturb to Temperature and now if you view your timeline it should be gone. Also enable Shredding to increase the amount of licks and interesting patterns created by our fire and increase the value to 2 and we should see some more interesting patterns in our smoke. We could still do with a little more breakup as well in our fire breath so enable turbulence with a value of 0.5 but a Swirl Size of 0.2.
Out smoke is looking a bit wispy and we want more of a dense thick look, fortunately to fix this all we have to do is enable Create Dense Smoke in the Combustion>Smoke tab. Out fire is also looking very white in our viewport, to get a more realistic representation of the flames go to the Smoke Object>Guides>Multi>Emission tab and increase the Emission Colour Ramp from 0-1 to 0-3, you can also add a red colour value to the ramp for a more realistic preview.
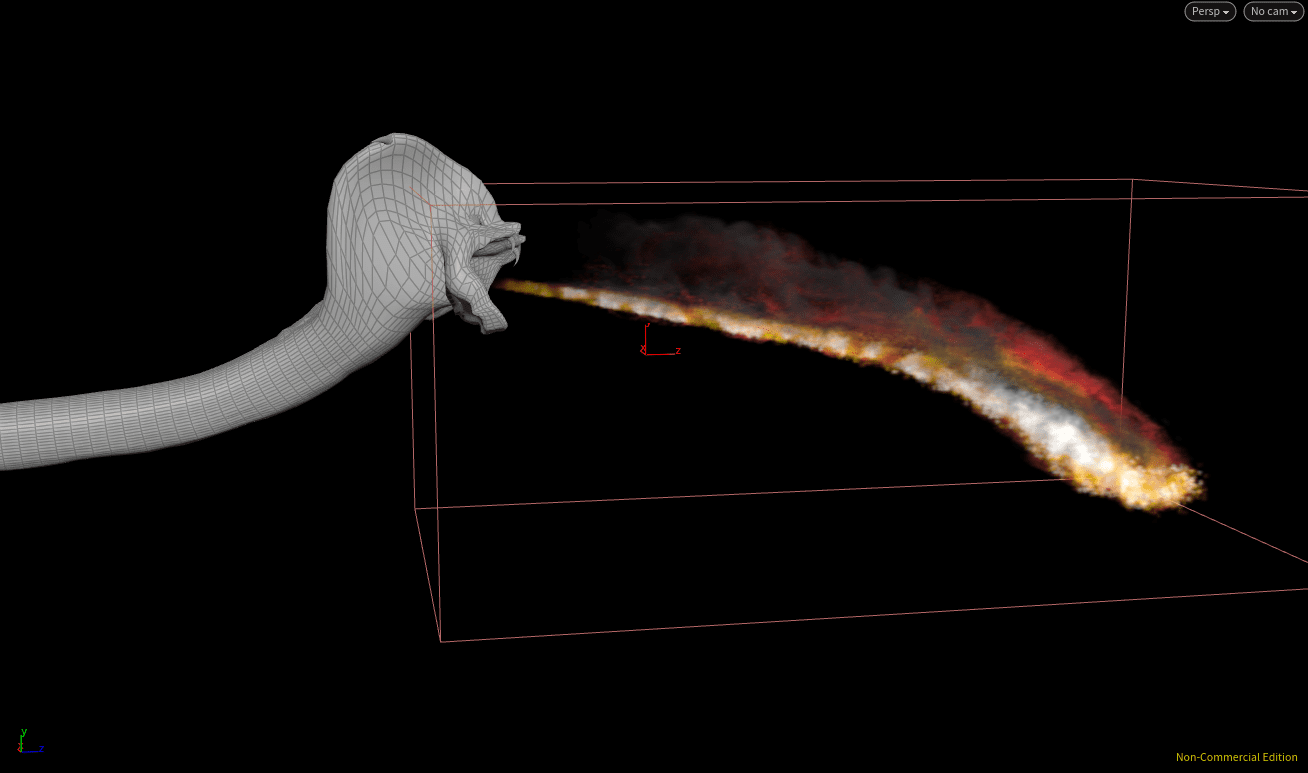
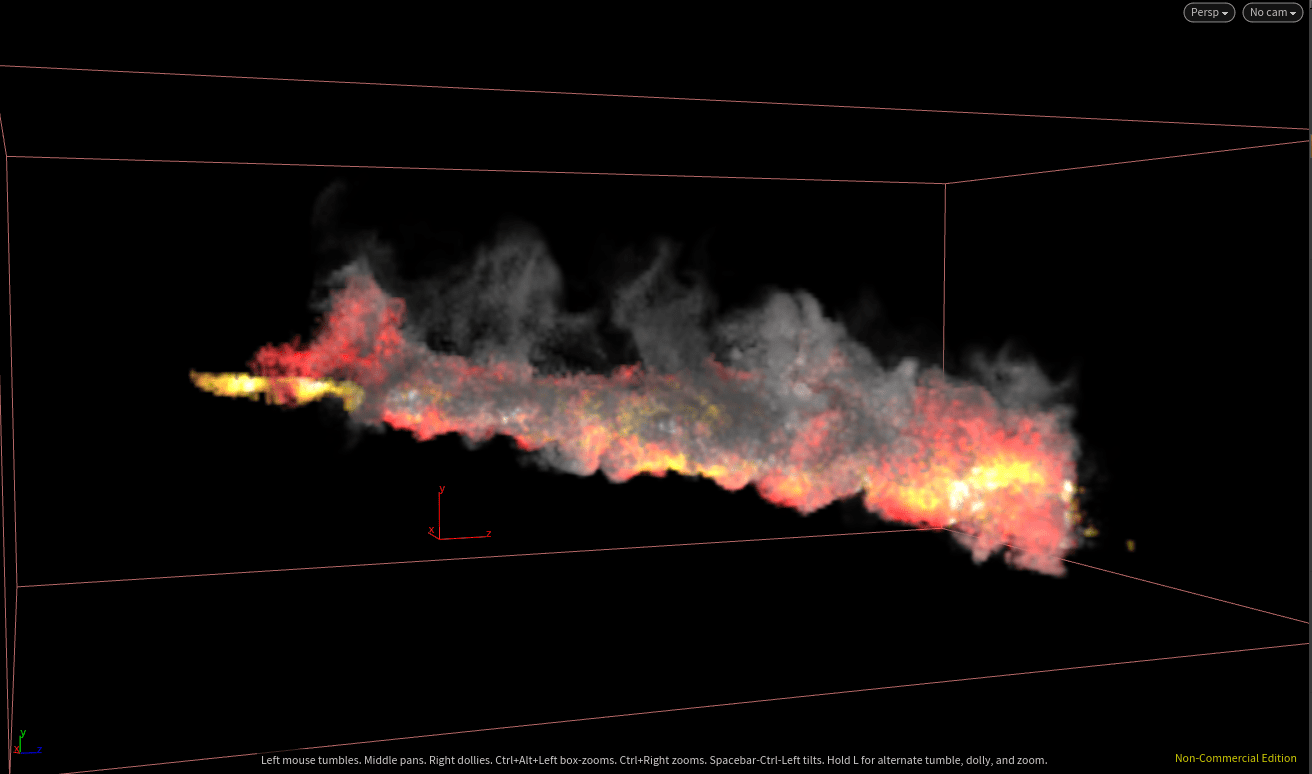
Our fire breath with the added shaping.
More source tweaks and ignitable COLLIDERS
Aiming down
Currently our fire is passing straight over the head of our reference figure when really we want it to hit him, to do this we are going to add another VEXpression to the Point Wrangle in our snakefire_source:
v@v.y*=0.1;
This will reduce our y velocity considerably and now, if we play our timeline, our fire should hit the figure directly in the face.
Delete by life
At the moment our source particles are sticking around far longer than they need to be which is significantly increasing our simulation time and prevent us from further increasing the resolution o four source, we are therefore going to delete some of the particles that have existed for loo long. Above the attributes in the fuel chain drop a Delete node set to delete Points By Expression, with that expression set to $LIFE>0.25. Now are particles will only survive for 25% of the original time and not cause our sim to take any longer than it needs to. Lastly we will add a Point Jitter below the Attribute Creates so our fuel isn’t so skinny, the default value however are far too great so reduce the Scale to about 0.1. We can now afford to increase the resolution in the Fluid Source>Scalar Volumes>Settings tab, lower the Division Size to 0.01 and we should have around 3 million voxels being created for our fuel, maybe slightly too much but that’s okay. Because we’ve changed settings above our File Cache we need to re-bake our source and import the new cache in using the File node already placed.
Our source network in its current state.
Igniatable objects
In the snakefire_source network we are going to turn our reference figure into a fuel as well as a collider so when the flame hits him he will ignite. Firstly duplicate the Time Shift, Null, and Fluid Source currently making him a collider and change the Initialise to Source Fuel. This will have created a vaguely person shaped fuel blob that we will refine using the Noise tab, disable animation and then in the Turbulence Settings decrease the Element size to 0.4 and increase the Grain to 0.7 and Sharpness to 1 so we have some holes in the fuel source. Then, in the SDF From Geometry tab reduce the Out Feather Length to 0.03 so the mode is less blobby.
There’s also a long pillar that our fire hits that we will bring in and turn into fuel, create another chain in the source with an Object Merge bringing in the environment. Next we need to isolate the pillar using a Delete, in this case then Group is “polySurface940”, this group encompasses a few of the columns so drop another Delete and isolate grp_columnDebris5. We need to make this a collider as well as a fuel so duplicate one of the collider Fluid Source and connect it to the Object Merge – because it isn’t close to the fire you can re-enable Output SDF as well. Reduce the Edge Location to -0.004 and then finish the chain with another duplicated Time Shift and a Null.
To bring these objects into the simulation head to the snakefire_sim network and duplicate the Source Volume bringing in our reference figure, we need to bring in our column collider so update the path and then drop down a brand new Source Volume to bring in our person fuel. Plug this Source Volume into the same Merge as the colliders and set the Initialise to Source Fuel then point the path at the Person Fuel Null. By default Source Fuel brings in Fuel, Temperature and Velocity however we don’t want our person to spontaneously combust so, in the Volume Operation tab set the Temperature and Velocity to None and clear the fields of the SOP to DOP Bindings so only the Fuel remains.
If we play our timeline now the person only seems to be igniting for a fraction of a second before extinguishing, this should be rectified when we increase the resolution of simulation later so don’t worry about it for now, however we are going to create some fuel for our column as well so it will ignite too when the fire touches it. Instead of just copy/pasting another Fluid Source we are going to use a VDB From Polygons set to Fog VDB rather than Density plugged into the second Delete of the column chain. This will create a fog volume out of our column polygons which we can use a Fluid Source on to Initialise a Source Fuel. Set the Method to Sample Volumes this time and, like with our Person Fuel we will add a low frequency Noise by decreasing the Element Size to 0.3 and the Scale to 0.25, 1, 0.25 and increasing the Sharpness and Grain to 0.85 and 0.75. Now if we place a Merge below the collider Fluid Source and merge the new one into the chain we don’t have to set up another Source Volume in the DOP Network. However, because our Source Volume is set to Initialise Collisions we need to update some of the parameters in the Source Volume importing out column. Firstly, in the Volume Operation tab set the Temperature to Add, then in the SOP To DOP Bindings set the Temperature Volume and Add To Field fields to “temperature”.
So this time, instead of placing fuel for the fire to ignite, we have essentially created a really hot object that will reignite our fuel when it touches it. We can sort of see this effect if we play our timeline but the fire isn’t really impacting our column enough at the moment so reduce the Scale Velocity in the Source Volume bringing in the fuel to 0.5 and then replay the timeline. Now we are getting a few ignition points on our column and our reference figure is really igniting as the fire hits more of his body.
The final reference figure fuel.
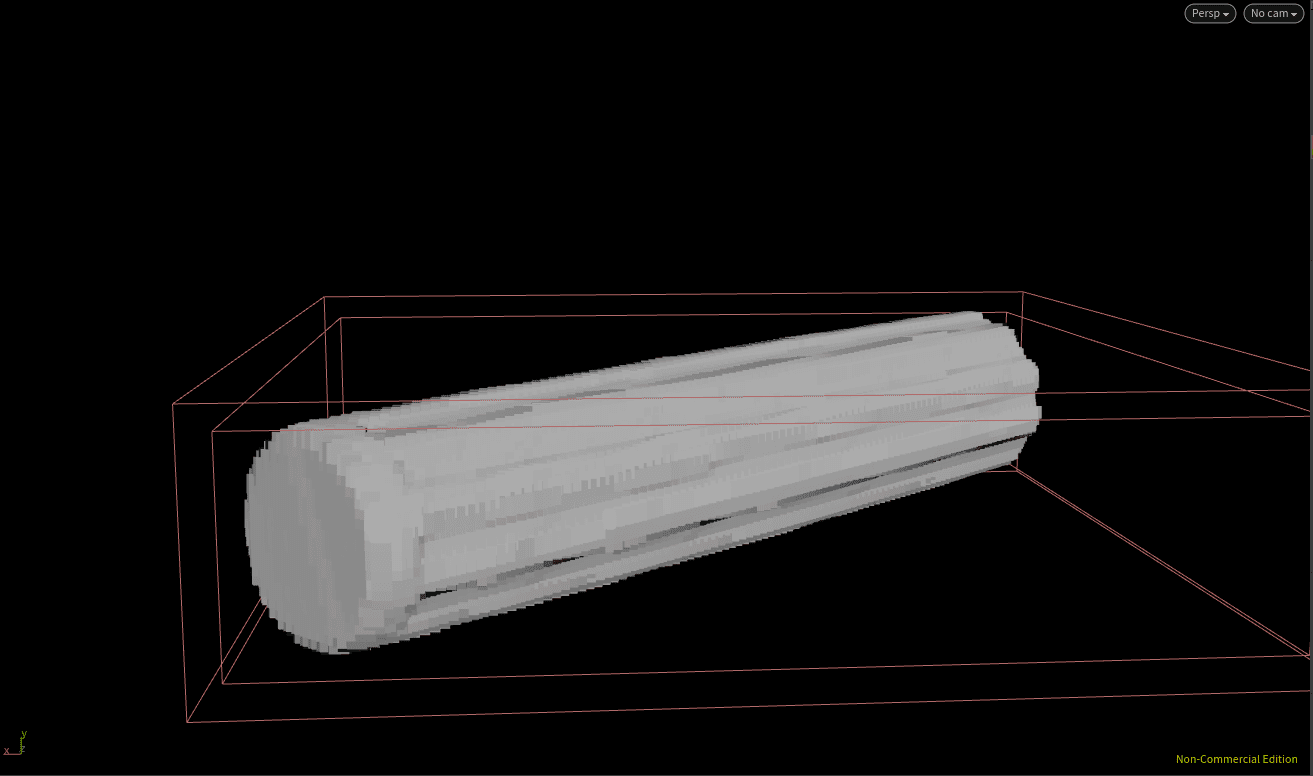
The column temperature field.
Exporting the snakefire_sim
Final tweaks
We’re nearly ready to export the simulation network and prep it for render but there are a couple of last minute tweaks to make before we do this. Firstly our fuel still isn’t really hitting our column as much as I’d like it to but we don’t want to re-cache our source again so we’re going to use a Transform post-cache to achieve this. Drop one directly after the File node before the chain splits and copy/paste the channels from the Position of the Point node earlier in the chain, now we have a pivot point at the source of our fuel using which we can rotate our fuel. We only need a subtle movement to get the fuel to hit so just add a rotation of 6 in the x-axis and you should see our fuel making contact in the viewport.
At the moment our reference figure is staying on fire long after the snake has stopped breathing it, if that’s the look you’re going for then that’s fine but if not then we will use another fit function in the person Source Volume in the snakefire_sim so he only burns for a short amount of time. On the Scale Source Volume enter:
fit($FF, 100, 110, 1, 0.1)
This will mean that between frame 100 and 110 the scale will decrease from 1 to 0.1, we also want to reduce the Temperature and Velocity Scale to 0, they shouldn’t be being brought in anyway but just to be sure.
Next we need to tweak the padding on our Gas Resize Fluid Dynamic as we never changed these after copying them over from our campfire. Because we have our tracking object we don’t need too much padding so set the Lower Padding to 0.5, 0.2, 0.1 and the Upper Padding to 0.5, 0.2, 1. We will use this z value of 1 in the Upper Padding just to make sure our smoke isn’t cut off when we up-res our simulation.
Lastly we want to lower our Cooling Rate just a little bit from 0.75 to 0.65 just so we get a nice gradient between fire and smoke. This option can be found in the Pyro Solver > Simulation tab. We are now ready to export so get rid of the Division Size multiplier in the Smoke Object and change the value itself up to 0.02 so we are increasing the resolution by 4 times.

The final snakefire_sim network.
Exporting our simulation
Again at this point Rickles copy/pastes the campfire_import network from the previous post rather than create a new one so if you want to read how to create one from scratch then there is a method available in the Learning To Create Fire – Campfire Scene: Part 1 post. However for now I will duplicate my campfire network and rename it snakefire_import. The fields we need to update are the DOP Network and DOP Node so they point at the snakefire_sim and the Smoke Object in that network – both these can be found in the DOP Import Fields. We need to re-cache our sim now so update the name of the File Cache but keep the Frame Range 1-240 even though our fire effect only takes place between 60 and 140. Once this has been cached out, re-import it using the File node.
Our visualised snakefire_import network.
More embers
Now we’ve baked out the fire breath we’re going to add some embers. Copy/paste that network from the campfire simulation or build your own from scratch, instructions are in the same post as before. Update the OM so it’s pointing at the Null in the snakefire_import network and set the POP Network > Start Frame to 60. Then within the POP Network we need to change the Axis Direction of the POP Axis Force so they are spinning in the z-axis rather than the y (set the values to 0,0,1) and, lastly, increase the Const. Birth Rate in the POP Source > Birth from 20 to 80 to account for the bigger size. Other than that, the values we defined earlier are all fine – this really demonstrates the flexibility of this procedural workflow.
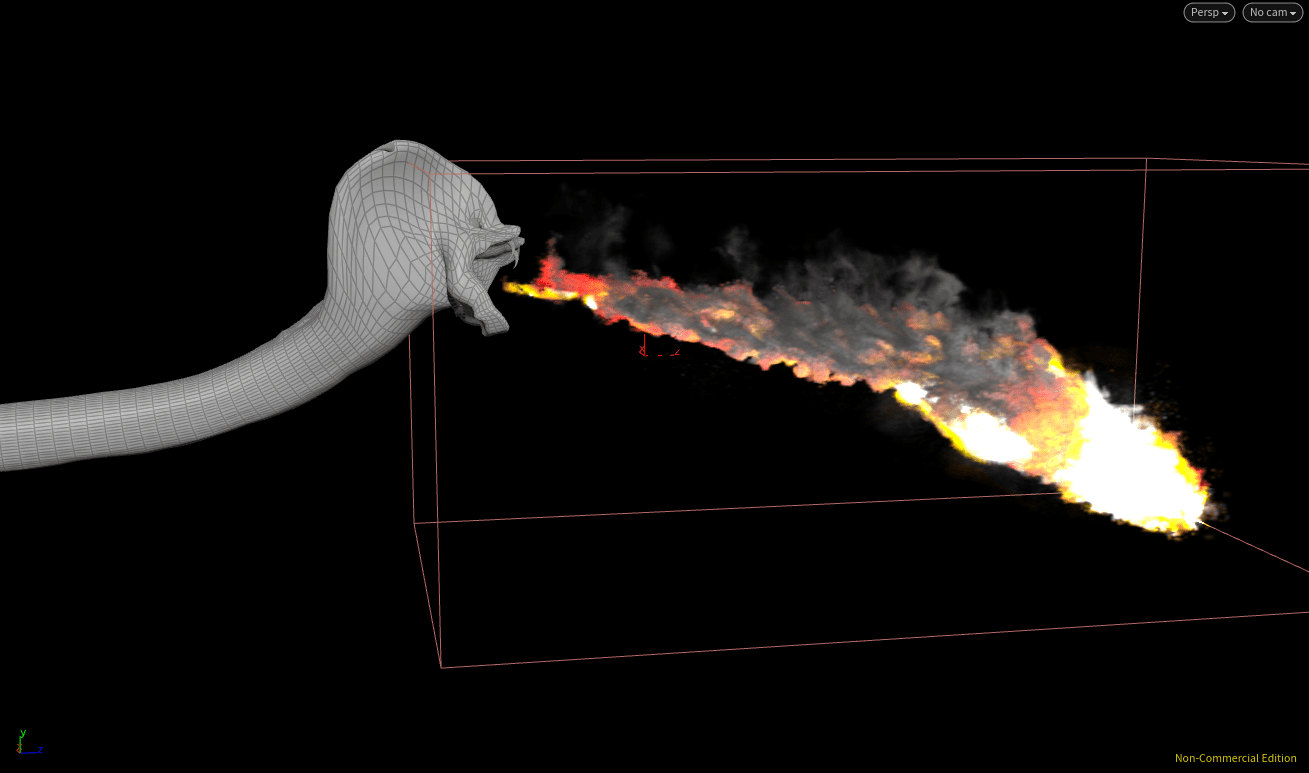
Our snakefire embers.
REFERENCES
- Pluralsight (2016) Introduction to Houdini Pyro FX. Available from: https://app.pluralsight.com/library/courses/introduction-houdini-pyro-2504 [accessed 19th November 2018].