Introduction
In the last part we completed our campfire simulation and added additional elements such as embers. The next step is setting up lights and preparing the Mantra node to export our scene.
Lighting our scene
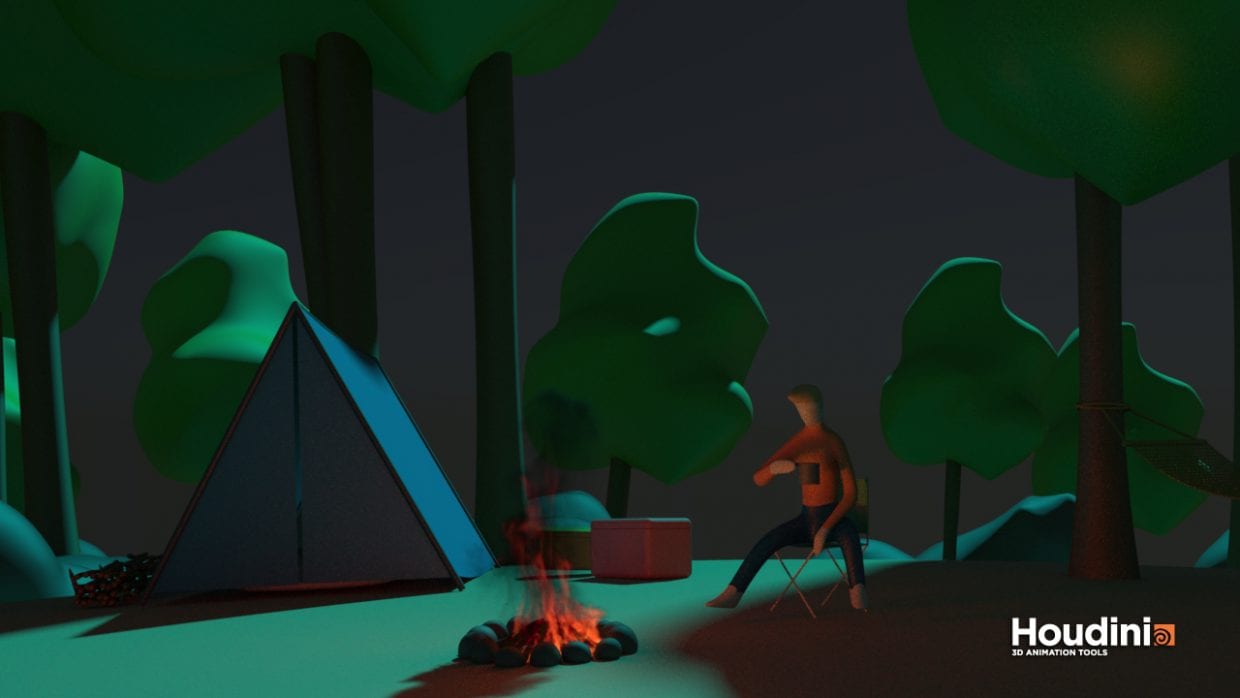
The first step in preparing our shot for rendering is adding some lights. Rickles creates a Sky Light from the shelf which creates two new nodes on the network layer: a SkyLight and SunLight. We are creating a campfire scene here and so we want the lighting to look like night time.
To create this look change the colour of the SunLight to a blue and lower the intensity to something like 0.7. Also, in the SkyLight lower the Light Intensity to 0.1 we now have a dimly lit scene with a very cold light creating the illusion of moonlight. To reduce the noise in our scene we are also going to increase the Sampling Quality on both our lights to 2 to negate the need to increase our antialiasing later.
At the moment we don’t have any sky in our scene, to fix this we are going to need to create a new environment light from the shelf and increase the Sampling Quality to 2. Enable Render Light Geometry then, in the Sky Environment Map tab Enable the Sky Environment Map. Lower the Light Intensity to 0.04 and change the Haziness and Brightness to 3 and 0.5 to make the sky map look a bit more like night time. If you do a test render in the Render View now you can see the effect of our lights.
My lit campfire scene.
Fire Material
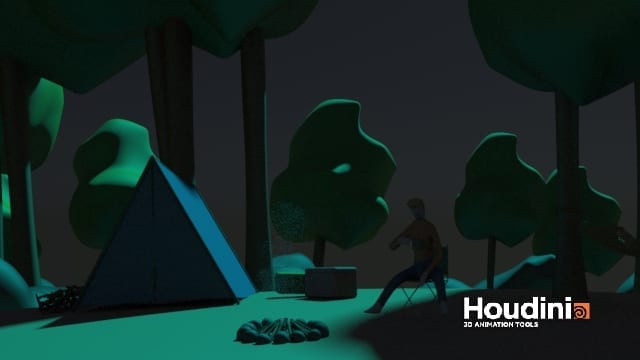
If we move to the materials layer and show the tool pallet we can locate the Flames material, drag and drop this into the materials layer. Now we can assign it to our fire so it’ll appear in our render view, on the campfire_import network locate the Material tab and point the path at the flames. At the moment in the Render View our fire should be starting to form, it needs some tweaking however.
Our fire is basically transparent at the moment so we are going to massively increase the Density Scale to 100, however now our fire looks like just smoke, so increase the Intensity Scale of the Fire to 30. Rather than using the colour ramp for our fire, we are going to change the Temp>Colour Mapping setting to Physical (Black Body), this will temporarily set our fire back to just smoke again so increase the temperature scale to 0.75. Our fire’s looking a bit red at the moment, this is because of our Colour Temp in Kelvin value which defines what a 1 value of temperature is equivalent to in Kelvin, the default value is 5000, increase this to something like 7000 and the flames will have a higher Kelvin value making them hotter and therefore less red and more orange.
Our remaining smoke is also looking a bit light at the moment so in the Smoke panel reduce the Smoke colour values so they reflect a much darker grey. Also increase the shadow density a bit to 10 to give us a bit more contrast in the fire shapes. It is pretty clear at the moment that we have a problem however, our fire is not actually emitting any light.
My render view with the fire material added.
Meshlight for the campfire
To make our campfire contribute to the light of the scene we are actually going to need to create a new geometry network called campfire_meshlight. Use an Object Merge to bring in the OUT Null from the campfire_import network and isolate the density with a Delete node. Then, similar to when we created our embers use 2 Convert to VDB nodes to convert from Fog to an SDF and then to Polygons and use a Volume Mix with a Post Must value of 10 to make the SDF visible.
To create an accurate light we should take the colour values of our fire and apply them to our meshlight network, to do this we will use an Attribute From Volume network with the chain plugged into the 1st input, and the Object Merge plugged into the 2nd. The temperature is where we get al the colour values for our fire so set the Volume field to “temperature”. At the moment the ramp is just mapping the temperature values from white to black so in the Mapping tab enable Map Volume to Vector and we will fix this by changing the Preset to Black Body. Stick a Null at the end of the chain and we are done with setting up the geometry.
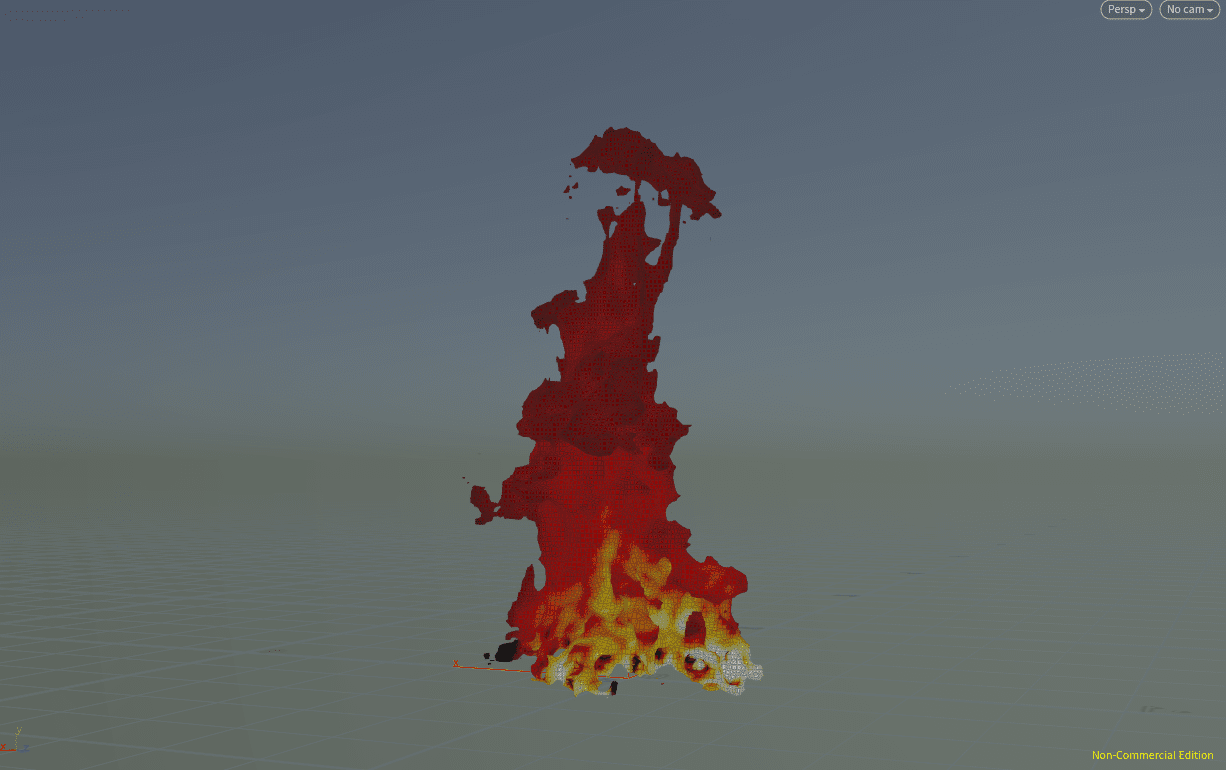
My visualised meshlight geometry.
My campfire_meshlight network.
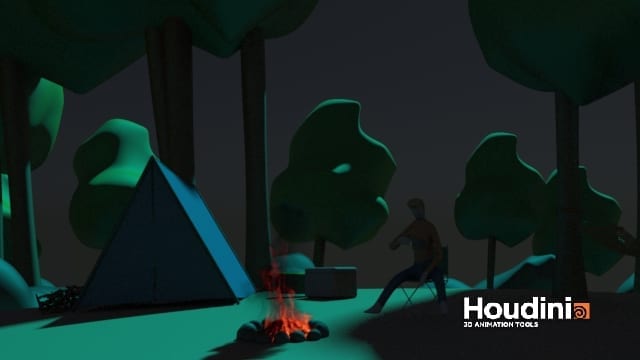
To turn our geometry into an actual light we will select the campfire_meshlight and hit the Geometry Light shelf tool which will create another new light for the scene called GeoLight. Already, if we check our Render View you will see a change due to our light contribution however it’s currently too subtle for the fight from a fire.
Firstly increase the Intensity and Exposure of the light to 4 each which will vastly increase the influence of our light, maybe a bit too much in terms of range. Our trees are being lit by the fire which might be a bit far fetched so in the Attenuation Options set the Attenuation to Half Distance. We want to lower the Half Distance to 1 and set the Attenuation Start to 0.1 to reduce our range a bit and give it some falloff, then set the Active Radius to 6 so the range of our light is limited. To further control this feature we can use another ramp. Enable the Attenuation Ramp Multiplier and use a Ramp End Distance of 5 so that there is a falloff of 1 (6-5) in our attenuation.
Lastly remember to up the Sampling Quality to 2 so it’s in line with the rest or your lights and we are ready to start editing the Mantra node and render our campfire scene.
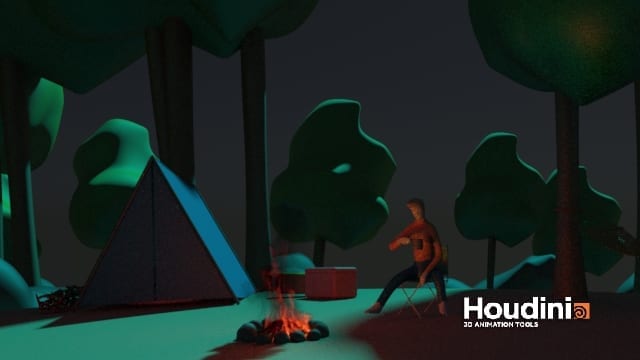
My campfire scene with meshlight added.
Refining the Campfire Mantra
If you haven’t already, create a new camera and angle it how you want then head over to the Out layer and find the Mantra node generated when we previewed our render and rename it to what your want (I used Mantra_Campfire). Firstly set the Frame Range and the Camera to what we want as well as the path in the Output Picture to wherever you want to render to.
Next, in your Objects tab, your fields should be as followed:
Candidate Objects – campfire_import, campfire_embers, campfire_geo_in (whatever network contains the rest of the actual scene)
Candidate Lights – * (this just means all lights)
After this we are going to head to our Rendering tab and toggle on Motion Blur, for this to work we need to also toggle on Geometry Velocity Blur for all out objects which can be done in the Render tab of all of our network nodes. We should also increase the Pixel Samples to 4×4 to give us less noise at the expense of render time, we should also increase the Diffuse Quality to 3 as we will have a lot of noise being generated by our lights that we need to combat. We also want to include light bouncing off objects in our scene so in the Limits tab increase the Diffuse Limit to 2
Finished Scene
We’re now ready to render our campfire scene and I believe I have a good basis of how fire works in Houdini. From here Rickles also shows us how to create a fire breathing effect which I will cover in the next few posts. However, I will attempt to create a small campfire-esque shot for my final portfolio.
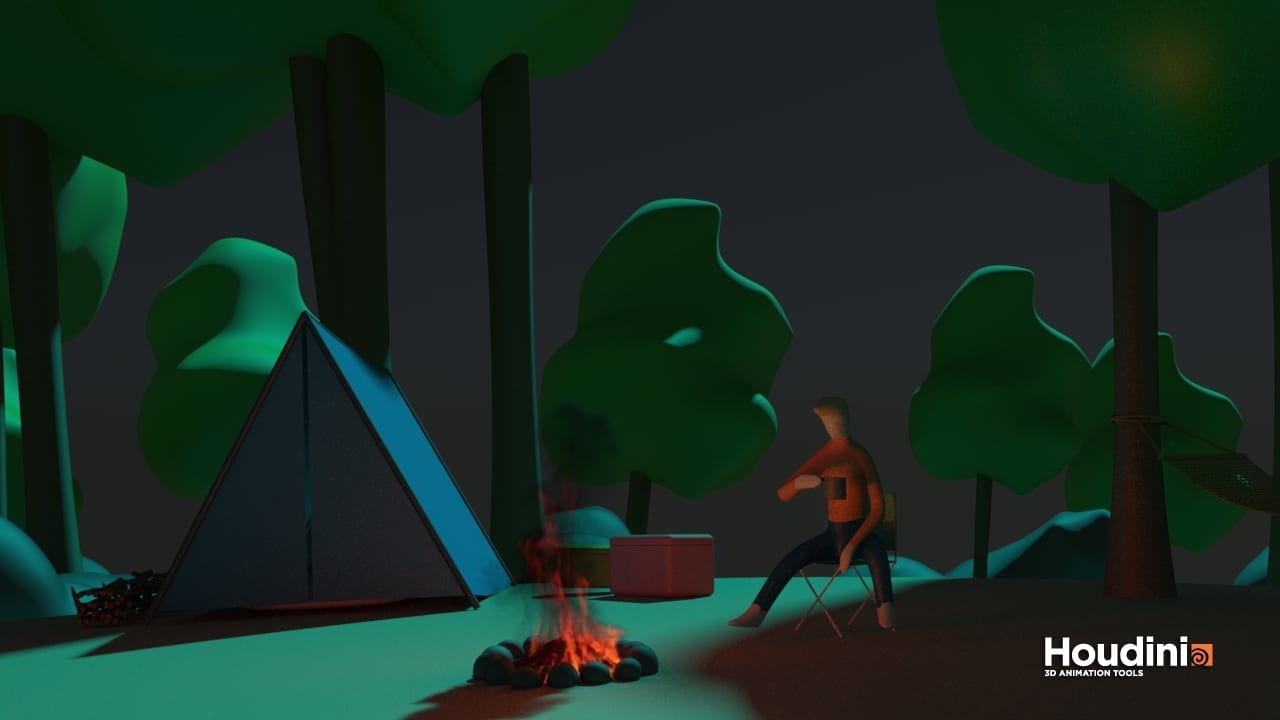
My final campfire scene.
REFERENCES
- Pluralsight (2016) Introduction to Houdini Pyro FX. Available from: https://app.pluralsight.com/library/courses/introduction-houdini-pyro-2504 [accessed 16th November 2018].